How to Edit Reels in CapCut PC: A Beginner's Step-by-Step Guide
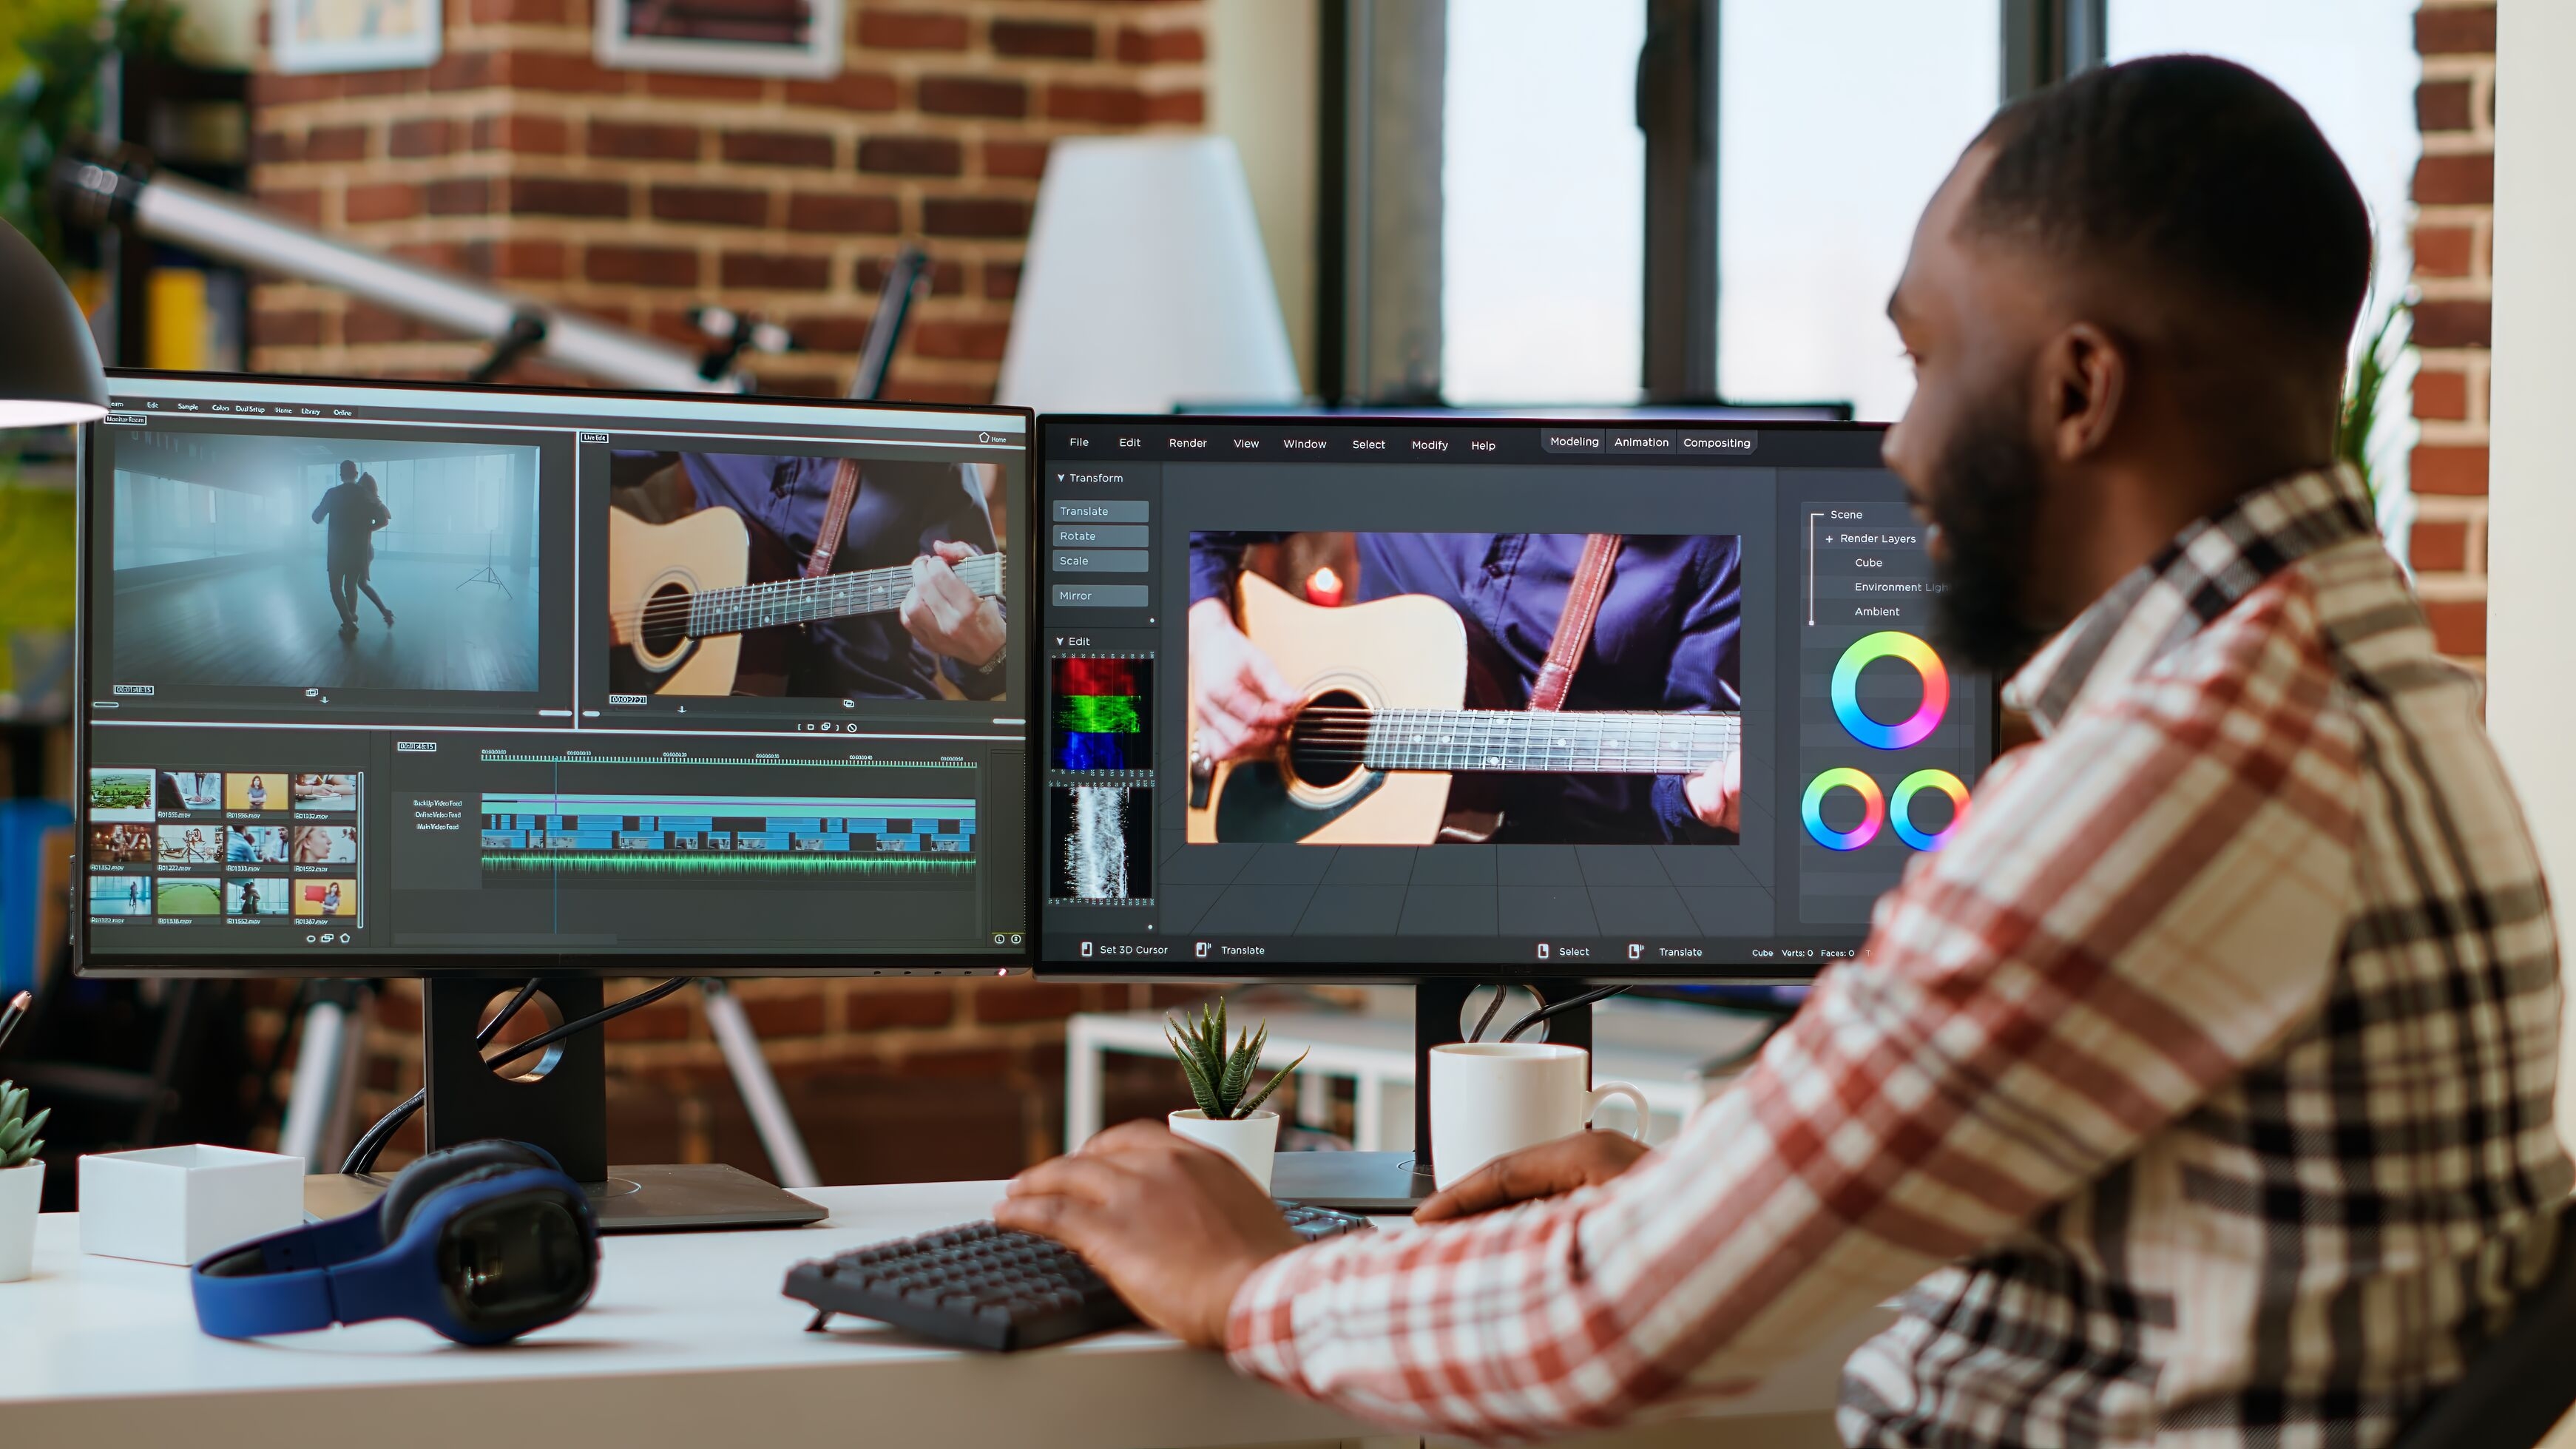
That is the workflow Edward Ansah, a creative lead, photographer and videographer, walked through live at an APPLYD ACADEMY Content Creation Masterclass session on 26 September 2026. He edited a real talking-head promo video from raw footage to finished reel, and this guide breaks down every step he showed.
You do not need editing experience to follow along. As Edward put it, video editing for beginners is not rocket science if you follow a simple, repeatable process.
Step 1: Organize your files before you open CapCut
Plan before you edit. If you shot eight takes, pick your best one or two first instead of dumping all eight into the timeline and sorting them out later.
Create a project folder with subfolders for each asset type:
- Footage
- Voiceover
- Music
- Sound effects
- Visual effects (graphics, logos, animations)
If you edit for a brand, collect its logo and brand assets up front. Inside CapCut, mirror the same structure with bins: right-click in the media panel, choose New folder, and rename it.
This matters more than it looks. Save every download straight into your project folder. Otherwise, CapCut may one day tell you it cannot find an asset, and you will have to hunt for it and relink it by hand.
Step 2: Import, rotate and trim with shortcuts
Click Import, bring in your folders, then drag your best take onto the timeline or click the plus button on the clip.
If you shot on a DSLR in landscape but need a vertical reel, rotate the clip. Use the rotate button in the preview, or go to the Video panel and set Rotate to 90 degrees, then scale the clip up to fill the frame.
Now play it back and cut the mistakes, pauses and "3, 2, 1, action" moments. Keyboard shortcuts make this far faster than clicking:
- Ctrl+B splits the clip at the playhead.
- Q deletes everything to the left of the playhead.
- W deletes everything to the right of the playhead.
Hover over any tool in CapCut to see its shortcut.
When you finish trimming, close the gaps. Right-click the timeline and choose Close all gaps, or turn on the track magnet so clips snap together automatically.
Step 3: Clean up your voice with Adobe Podcast
CapCut has its own voice enhancer, but Edward prefers the results from Adobe Podcast Enhance Speech, which has a free version. Here is his process:
- Set in and out points so you export only what you need. Press I where the export should start and O where it should end. Skip this and CapCut exports the entire timeline, including any leftover clips.
- In the export window, untick Video and export audio only as MP3 or WAV into your Voiceover folder.
- Drag the file into Adobe Podcast and let it process. It removes echo and makes the voice sound fuller.
- Set the Speech strength slider between 30 and 70. Pushing it to 80 or higher on weak audio can make it sound worse.
- Download the enhanced file into your Voiceover folder, drag it onto the timeline, and mute the original audio track.
Step 4: Add music and sound effects at the right levels
Music sets the mood, so choose it for the story you are telling. Edward picked a chill trap track because he did not want the promo to feel like a hard-sell ad. Free stock sites offer music along with sound effects, stock footage and images.
Do not just drop a song in and let it run. Decide where the video ends, find a natural ending in the track, and trim the music so it lands there cleanly.
Keep music under your voice. Edward sets background music to about -20 dB, then raises the voiceover slightly if needed.
For sound effects, open Audio, then Sound effects, and search (for example, "click" or "whoosh"). Match each effect to an on-screen action, like a whoosh on an animation. Star the ones you use often to save them to Favorites, and keep every effect quieter than your voiceover.
If playback lags, lower the preview quality or right-click the timeline and render it. Heavy 4K footage slows most laptops down.
Step 5: Customize your CapCut auto captions
Captions are one of the most important parts of a social video, and default auto captions rarely stand out. Generate them first, then refine them.
To generate: go to Text, then Auto captions, and click Generate. Turn on "Identify filler words" only if you have not already cut your mistakes.
To make them look professional, Edward's settings are:
- Manual line breaks. Break captions to match how you actually speak, not where the software splits them. Click in the caption and press Enter.
- Two to three words per line. It is easier to follow than long lines.
- One bold font. He uses Inter Extra Bold, a free Google Font installed as a system font.
- All caps. Set Case to uppercase.
- Tighter spacing. Character spacing at -1 (try -2 only if the font still looks right).
Stick to one font across captions and on-screen text. Consistency makes an edit look designed rather than thrown together.
Step 6: Add motion graphics with Canva, ChatGPT and CapCut layers
Motion graphics look complex, but they are built from simple layers. Edward used four techniques.
Mark your spots. Press M to drop a marker where a graphic should appear. With a clip selected, the marker attaches to that clip and moves with it. With nothing selected, it sits on the timeline.
Animate a flyer in Canva. Open the flyer in Canva, select the page, click Animate and pick a style (he used Baseline). Export it as a short video (his was 6 seconds) and import it into CapCut. If you need it to last longer and the final frames are static, slow the clip down under Speed.
Put a shape layer behind it. Go to Stickers, then Shapes, drag a shape onto the timeline, fill the frame, and color it from the flyer's palette. Copy the hex code from one element and paste it into another to keep colors exact. Lower the opacity or pick a darker shade for a subtler background.
Create an AI image of yourself. Use the menu in the preview to Export still frame, then give that frame to ChatGPT as a reference. Edward's prompt asked it to act as a senior prompt engineer and image manipulation specialist and generate an image of him in his office editing in CapCut, keeping his facial features, at Instagram Story size.
For animated words, add a text layer, apply an in-animation (he used Zoom), then hold Alt and drag to duplicate it. Stack the copies and use Align left or Align center to line them up.
Step 7: Check safe zones for TikTok, Reels and Shorts
Before placing your logo or captions, turn on CapCut's social media preview. Click the platform-view button in the preview window to overlay the TikTok, Instagram Reels or YouTube Shorts interface.
This shows where likes, comments, share buttons and captions will sit. Keep your logo and text inside the area that stays clear on all three platforms. Many brands have rules that their logo must never be covered, so this is part of doing the job properly, not an optional extra.
Also trim the logo layer wherever a full-screen graphic takes over, then bring it back when the main footage returns.
Step 8: Color grade with an adjustment layer
Grade on an adjustment layer, not directly on your footage. Drag an adjustment layer above your clips and apply every color change to it. Your footage stays untouched, and you can reuse the same look across a whole series of videos for one brand.
Inside the adjustment layer you get Basic, HSL and Curves controls, similar to Lightroom or Photoshop Camera Raw:
- Basic controls exposure, contrast, highlights and whites.
- HSL changes individual colors. For example, add more blue or pull red out of skin tones.
- Curves splits tones by brightness. The top right of the curve affects highlights and the bottom left affects shadows. Edward added a point in the shadows on the blue curve and raised it to push blue into the shadows.
If you are new to grading, start with Filters instead. CapCut includes landscape, portrait and movie-style filters. Apply one, then lower its intensity from 100% so it does not look overdone.
Step 9: Add a film burn transition with compound clips
A film burn transition should move viewers to a new shot, not back to the same frame. If you have no B-roll, split the clip where the transition happens and zoom in on the second half so it reads as a different angle.
Edward's method for placing the effect cleanly:
- Search Effects for "film burn" and add one to the timeline.
- Convert it into a compound clip so you can trim and move it without it shifting around.
- Cut it to start and end exactly where the transition should happen.
- Select it, go to Video, then Blend mode, and choose Screen. This makes the black background transparent, so only the burn shows.
- Add a matching sound effect, such as a click, to sell the moment.
The Screen blend mode trick works for any overlay on a black background, not just film burns.
Step 10: Export at the right settings and post
The best CapCut export settings for social media are 1080p at 30 frames per second. Even if you shot in 4K, export in 1080p. TikTok, Instagram and YouTube Shorts display video at 1080p, so a 4K upload gets compressed by the platform and loses quality.
Set your in and out points (I and O) before exporting so only the finished video is included.
Before you post, check two things:
- A short, clear caption. Viewers have short attention spans. Get the message across quickly, and only add details like links or dates when the post needs them.
- A scroll-stopping thumbnail. Do not just pick a random frame. Export a still frame and design a thumbnail in Canva, or use CapCut Pro's design studio.
CapCut PC Cheat Sheet
Every shortcut and setting from this guide in one place. Keep it open in a second window while you edit, or print it and pin it next to your screen.
Editing shortcuts
- Play / pause: Space. You'll use this constantly, so keep your hands on the keyboard.
- Split clip at playhead: Ctrl + B. Use it to cut out mistakes, pauses, or dead air.
- Delete everything left of the playhead: Q. Trims a slow start in one keystroke.
- Delete everything right of the playhead: W. Trims a clip that runs too long.
- Undo: Ctrl + Z. Instantly reverses a cut you didn't mean to make.
- Add marker: M. Flags beats, punchlines, or spots you want to fix later.
- Set export start / end: I / O. Lets you export just one section of the timeline.
- Duplicate a layer: hold Alt and drag. Copies text, overlays, or effects with identical settings.
- Remove timeline gaps: right-click → Close all gaps, or turn on the track magnet. Cleans up the empty spaces left behind after cutting.
Audio settings
- Adobe Podcast speech enhancement: 30 to 70 strength. Cleans up your voice without the robotic, over-processed sound you get at 100.
- Background music: about -20 dB. Keeps music under the voice so it adds mood without competing with speech.
Captions and visuals
- Caption style: 2 to 3 words per line, one bold font, UPPERCASE, -1 letter spacing. Short, punchy lines are easier to read on mobile and keep viewers watching.
- Remove a black background from an overlay: set Blend mode to Screen. The black disappears, leaving only the effect (light leaks, particles, smoke).
Export settings
- Resolution: 1080p. Sharp on every platform without huge file sizes.
- Frame rate: 30 fps. The standard for social video. Match your footage instead if you shot at 24 or 60 fps.
Frequently asked questions
Can I use CapCut Pro features on the free version?
Yes and no. You can use Pro effects, text and features while you edit, which is fine for learning. But CapCut will not let you export a project that contains Pro features unless you upgrade.
What are the best CapCut export settings for TikTok and Instagram Reels?
Export at 1080p and 30fps. Uploading in 4K does not help, because the platforms compress it down to 1080p and you lose quality in the process.
Should I use one-word captions?
It depends on your audience. One-word captions move fast and can be hard for older viewers to follow. Two to three words per line is a safer default for most content.
Can I bulk-apply caption styles in CapCut?
You can apply caption templates in one go, but they will look like everyone else's. Customizing line breaks, font and spacing takes longer and helps your videos stand out.
How do I make my voice sound better in CapCut videos?
Export the audio only, run it through Adobe Podcast Enhance Speech with the strength between 30 and 70, then re-import it and mute the original track.
Why does CapCut lag when I play my timeline?
Large 4K files strain most laptops. Lower the preview quality, or right-click the timeline and render it for smooth playback.
Watch the full session and keep learning
This guide comes from a free live class in the APPLYD ACADEMY Content Creation Masterclass, taught by Edward Ansah on 26 September 2026. APPLYD ACADEMY focuses on practical, hands-on skills, so learners can actually do the job rather than only hold a certificate.
- Watch the full recording on the APPLYD ACADEMY YouTube channel
- Join the Content Creation Masterclass (online or in person), covering ideation, scripting, filming and editing.
- Coming next: an AI Automation class. Follow APPLYD ACADEMY on social media so you don't miss it.
As Edward reminded everyone at the end of the session: we learn every day. Open CapCut, try one step from this guide today, and build from there.